Sourdough Bread Machine Recipe: Easy Loaf with Starter 2026
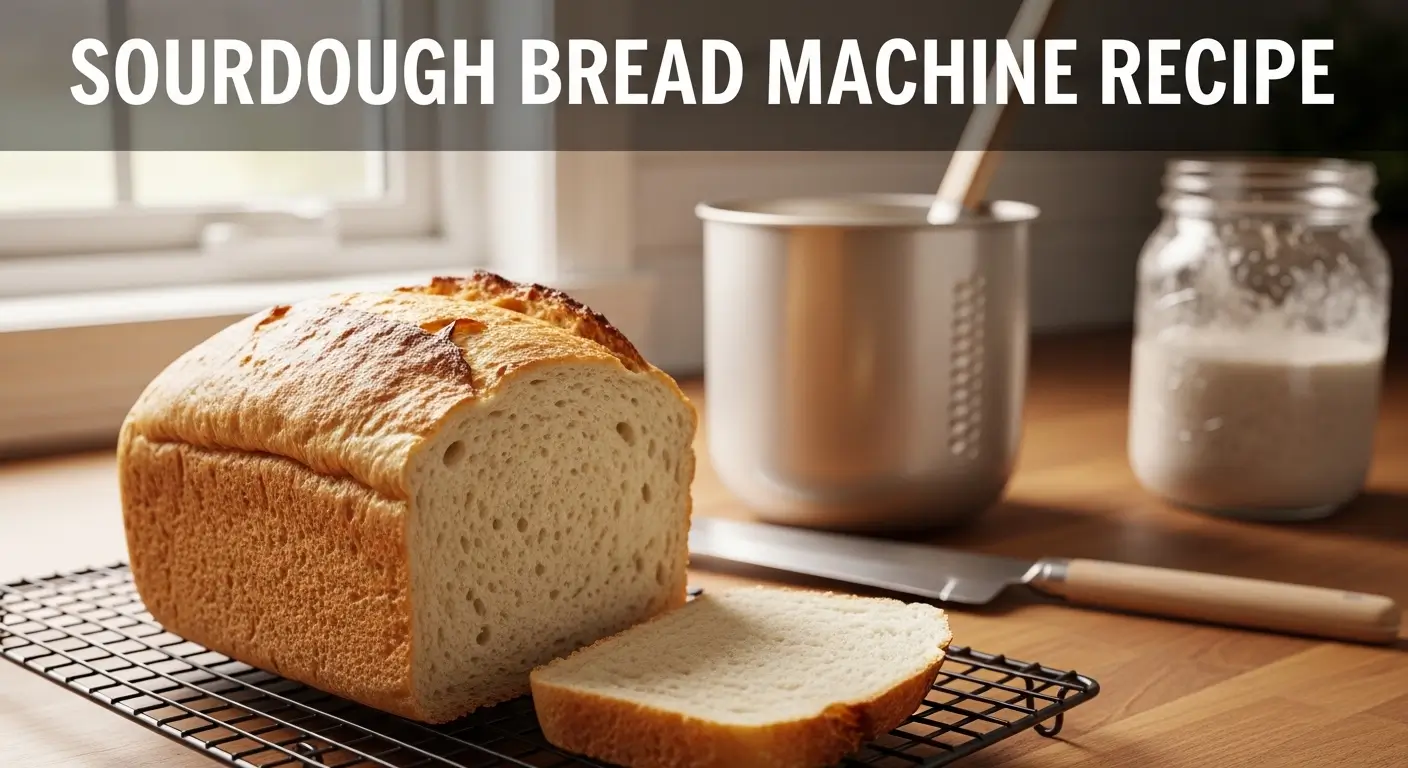
Sourdough Bread Machine Recipe
When you are looking to find a sourdough bread machine recipe, you are likely after a single thing; to make a loaf that would taste like sourdough, rise well, and not become a thick brick or a sticky mess.
The following is the reality that makes it all easier; commercial yeast timing is programmed in most of the bread machines. There is slower and more variable sourdough fermentation. As soon as you cease to subject sourdough to the Basic cycle and allow the machine to do what it is best at (mixing and kneading) you see a significant improvement in consistency.
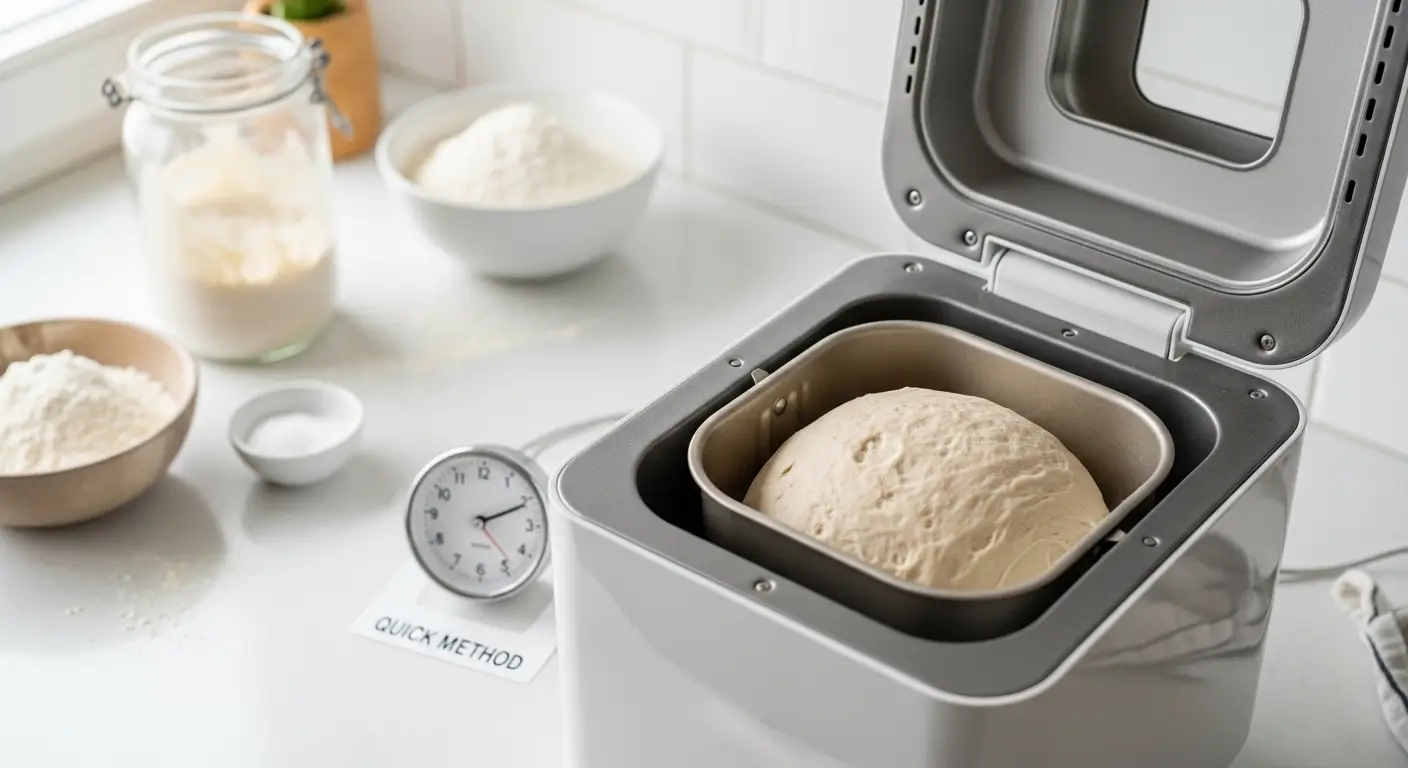
Quick Answer: Dough cycle in the bread machine, 10 minutes check of the dough consistency and then bulk rise and proof in the pan, and finally Bake Only or oven when the bread machine does not support personal rise times.
What can be the meaning of the bread machine sourdough (choose the correct lane)
There are three loaves with which people use the same phrase. The correct selection eliminates 80 percent of frustration.
Lane 1: True sourdough (starter with no yeast)
Ideal use: natural fermentation enthusiasts, richest flavor, most elastic time.
Tradeoff: timing is less predictable; you have to monitor the upsurge.
Also Read: Cherries in the Snow Recipe: Easy No-Bake Dessert 2026
Lane 2: Hybrid sourdough (starter with one pinch of yeast added)
Best when: the increase is predictable, the bakery is to be done on weekdays, the starters are weaker.
Compromise: not as wild a fermentation character (but it is also delicious).
Lane 3: Toss up bread (discard + yeast)
Best with: discarding, fast bread of sandwichtype.
Tradeoff: not naturally leavened (better said sourdough flavored)
This guide is on Lane 1 (true sourdough) and provides you Lane 2 (reliability upgrade).
Starter preparation: the way to know yours can bring up bread.
You do not have to have any complicated tests but you do have to have a sincere check-in.
Today you know you have signs that your starter is ready.
- It increases reliably following feeding (usually doubles at maximum)
- It is very pleasant, tangy and bready, not harsh as nail polish remover.
- Not just on the surface it is bubbly through the jar.
- It appears light and domed in part at summit.
Practical rule
Take starter when it is most active (when it is at its full size). When you bake using already collapsed starter, then you will have a longer fermentation time and tight crumb.
Sourdough bread machine recipe (starter-only, 1.5 lb class)
It produces a soft, sliceable loaf, which fits most machines with a size of 1.52lb. To achieve crusty artisan vibes, you will be able to do it by oven-finishing (see below).
Also Read: Sausage Potato Leek Dijon Mustard Hash Recipe 2026
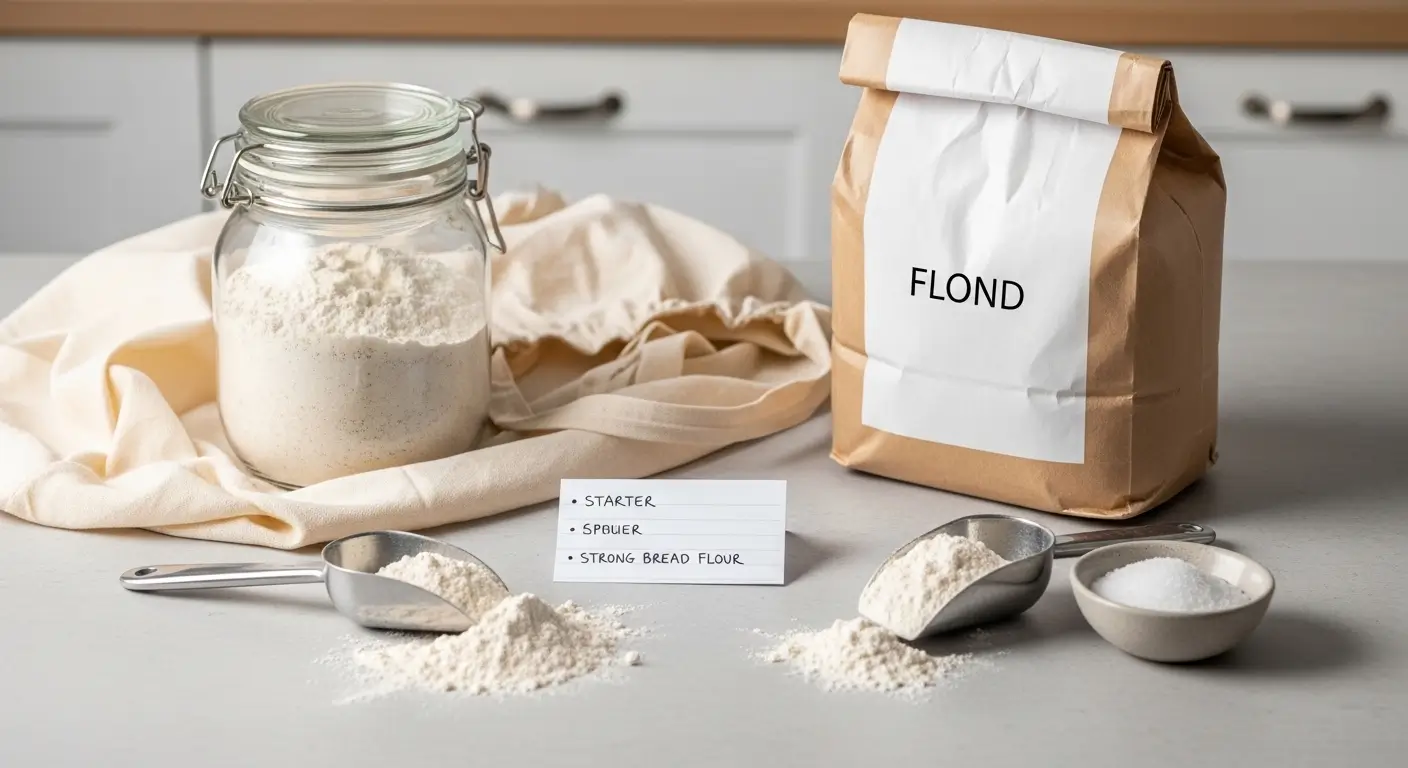
Ingredients (by weight)
- Active sourdough starter (100% hydration): 150 g.
- Water: 250-280g (begin with 260g; then with your fingers)
- Bread flour: 420 g
- Salt: 9 g
Choice (softer sandwich loaf):
- Honey or sugar: 10–15 g
- Olive oil or butter: 15–25 g
Flour naming note (world wide): In the UK, bread flour is known as strong white bread flour, and whole wheat is known as wholemeal.
The sequence of the ingredients in the pan (best practice)
As far as your manual does not state otherwise:
- Liquids (water, starter, oil /honey in case of use)
- Flour
- Salt on top (store salt at the beginning of starter away as far as possible)

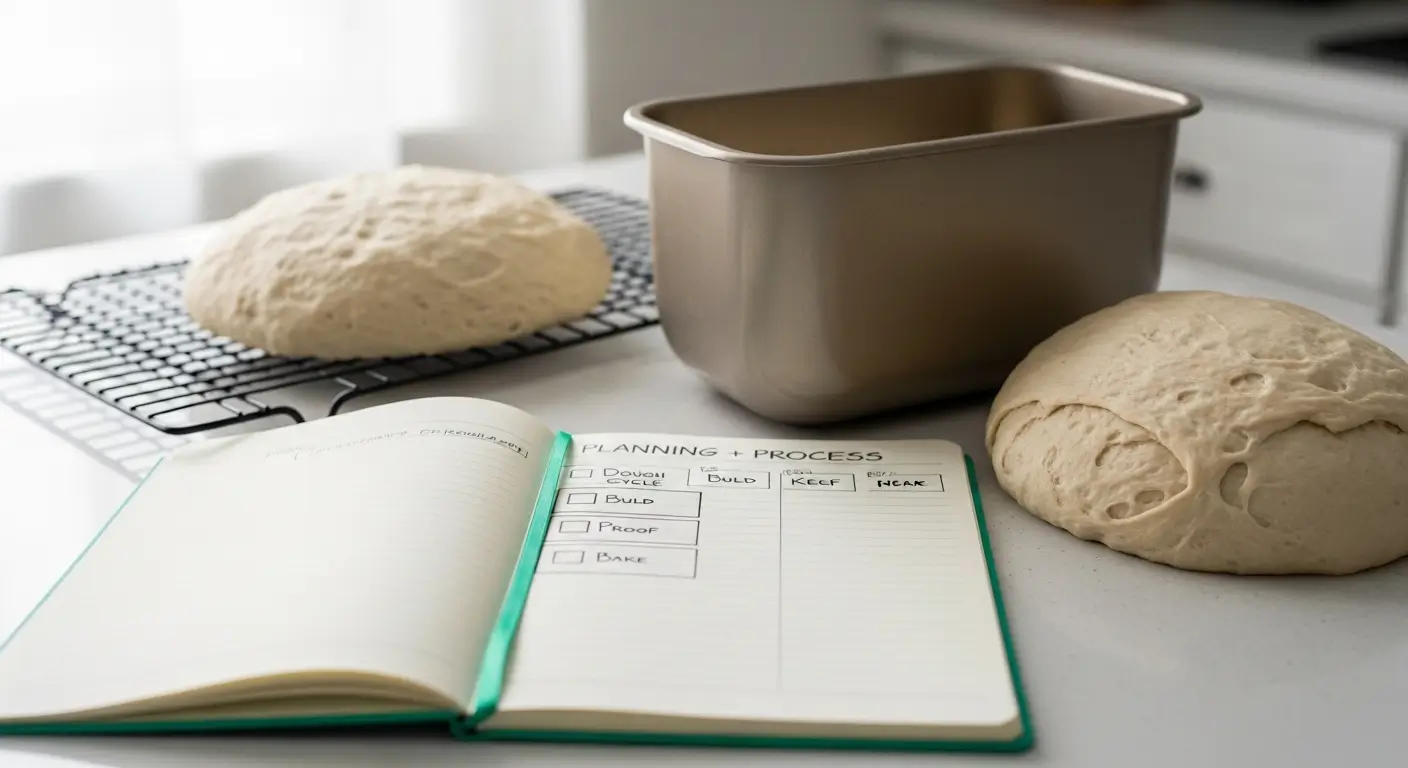
Method A (most dependable): Dough cycle + long rise + Bake Only / oven.
Short answer
Use Dough cycle to knead. Then forget the bake program of the machine with its yeast and let sourdough bake at its own schedule.
Step-by-step
- Add ingredients into the pan.
- Select Dough (mix + knead). Start the cycle.
- Check the dough at minute 8-10 (that is the secret such successful recipes have).
- In case it is dry, tearing or clumping: use water 1 teaspoon at a time.
- In case it is batter-like or it is puddling: Add flour 1 tablespoon at a time.
- You desire a smooth and elastic dough that is not sloppy.
- Let the Dough cycle finish.
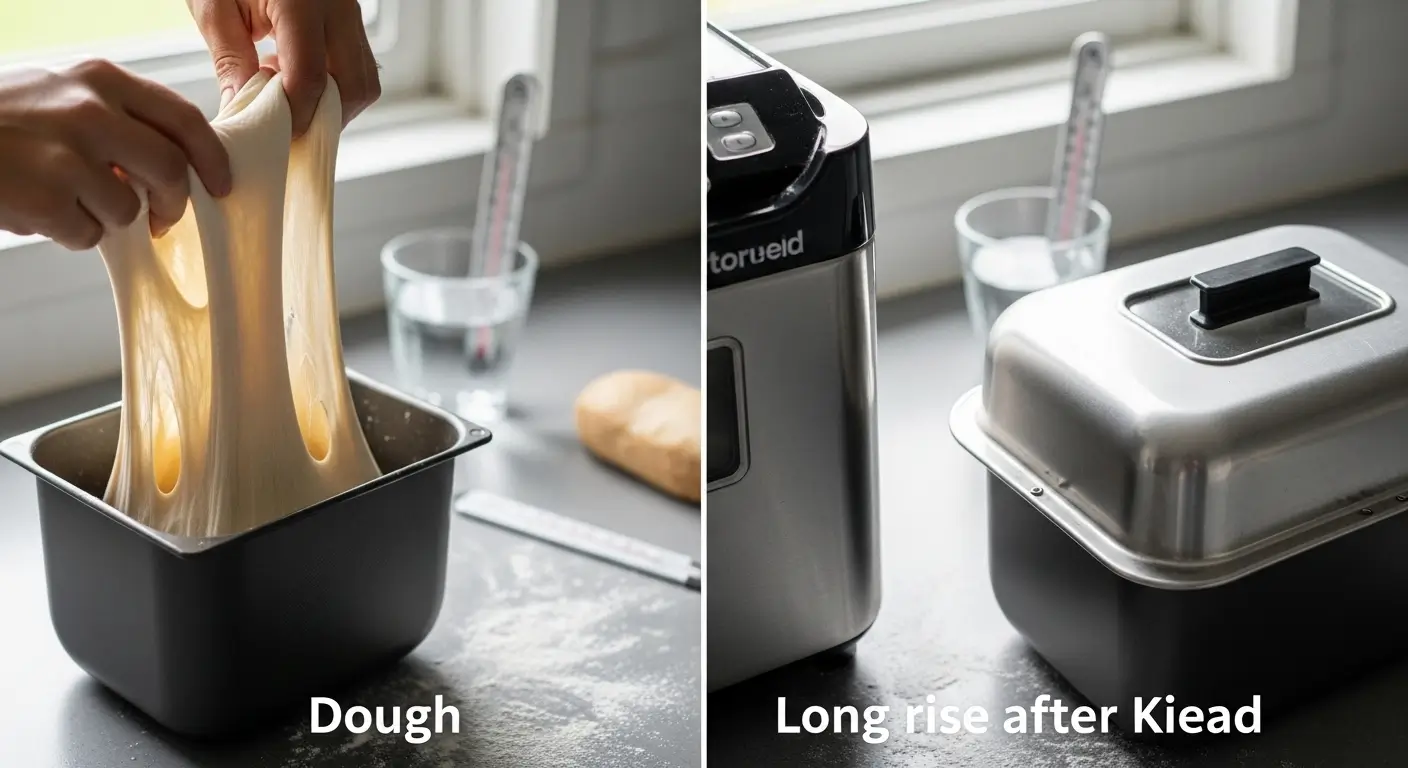
- In the pan (closed with the lid): bulk ferment.
- Warm kitchen: 4–6 hours
- Cool kitchen: 6–10 hours
- Search in dough which has distinctly risen and which appears airy.
- Optional shaping (helps structure): apply oil to hands, loosen dough, fold sides down, return seam-side down.
- End result in pan: 1 3 hours, until it is puffy and close to the rim (or as high as you are comfortable baking before baking).
- Bake: pick one finish
- Bake Only (when available): normally 45 -70 minutes, again depending on machine and size of loaf.
- Oven finish (best crust and rise): turn dough onto parchment, score at your discretion, bake until well browned.
When to bake (at the time that most people are away)
Bake when the dough is puffed and risen though it appears to be strong. When the top begins to wrinkle, sink or appear weak, then you have probably over-proofed (over-proven).
Method B: All-in-machine when the machine is programmable or sourdough-capable.
There are machines, which allow you to create your own stages (mix → rest → knead → long rise → bake). When all yours does it is possible to automate almost everything.
An unaware template program.
- Mix: 10–15 min
- Rest/autolyse: 20–40 min
- Knead: 10 15 min (it is usually more effective to divide it into two short kneads)
- Bulk rise: 4 -8 hrs (temperature is important)
- Proof: 1–3 hrs
- Bake: 50–70 min
Important brand note
Some of them have a special starter cup attached to the model, and the manual should be followed carefully. The wrong program may also overheat parts that are used to prepare starters. In any uncertainty, use Method A which is compatible with virtually any machine.
Also Read: Amish Apple Cake Recipe: Easy Apple Cake Dessert 2026
Method C (reliability of the weekday): Hybrid sourdough (starter + tiny yeast).
Short answer
In case you want to know when to expect something, a little yeast will give you the predictability. You yet obtain sourdough smell and tenderness, without the risk of a feeble starter.
How to do it
Use the same recipe, plus:
- Instant yeast: 1–2 g (a small pinch)
It is sometimes possible to run a longer program such as the French/Long Rise with better odds, though the 10 minutes dough test still counts.
The same principle with a UK yeast, such as Allinson Easy Bake Yeast, just a small amount is to be used to ensure consistency, not to make it turn into ordinary bread.
Which cycle should I use? (Quick decision framework)
And you can do well to remember but one thing.
Select your method, depending upon your machine.
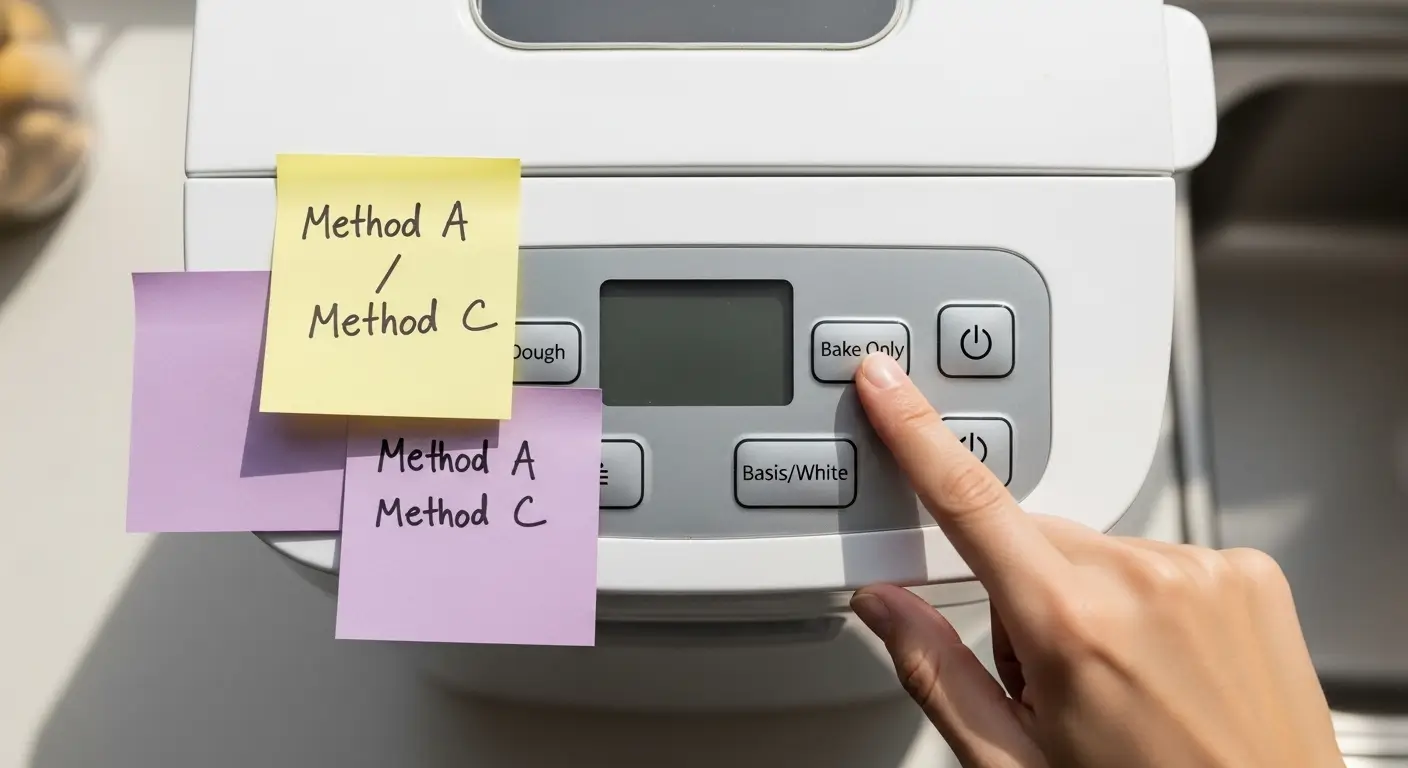
- You have Dough + Bake Only: Method A (easiest, most consistent)
- You have Dough only (no Bake Only): Method A + oven finish.
- You have a program Sourdough: test it once, but compare to Method A.
- You just do Basic/White cycle: you either use Method C (hybrid) or will probably under-ferment.
Select according to your schedule.
- Overnight / busy day: Method A (bulk overnight, proof in morning, bake)
- Flexible and same-day: Method A (watch rise).
- Same-day and fixed deadline: Method C (hybrid).
Loaf size (1 lb vs 2 lb machines)
Bread machine pans vary a lot. There are two issues that appear in recurrent situations: overflow and short loaves.
Quick scaling guide
- 1 lb machines: cut down all to roughly 70 percent of the original recipe.
- 2 lb machines: base recipe typically fits, but you can go a little bigger, but again, do not push it until you have tested your rise height.
The overflow guardrail
Do not allow dough to rise higher than you would want it to rise during baking. Sourdough will get you, particularly in hot kitchens.
International temperature and climatic changes.
The rates of fermentation are largely determined by the temperature and the strength of the starter.
Hot and humid kitchens
- Expect faster bulk and proof
- Prepare beforehand and cook before.
- Consider using cooler water
Cool kitchens
- Expect longer bulk and proof
- Use slightly warmer water
- Location machine in a draft-free area; the closed lid is beneficial in keeping warmth.
High altitude
Structure may be seen to be slow as proofing passes rapidly. Bake sooner than you imagine and do not have too wet dough.
Also Read: 2 Banana Muffin Recipe: Small Batch Banana Muffins
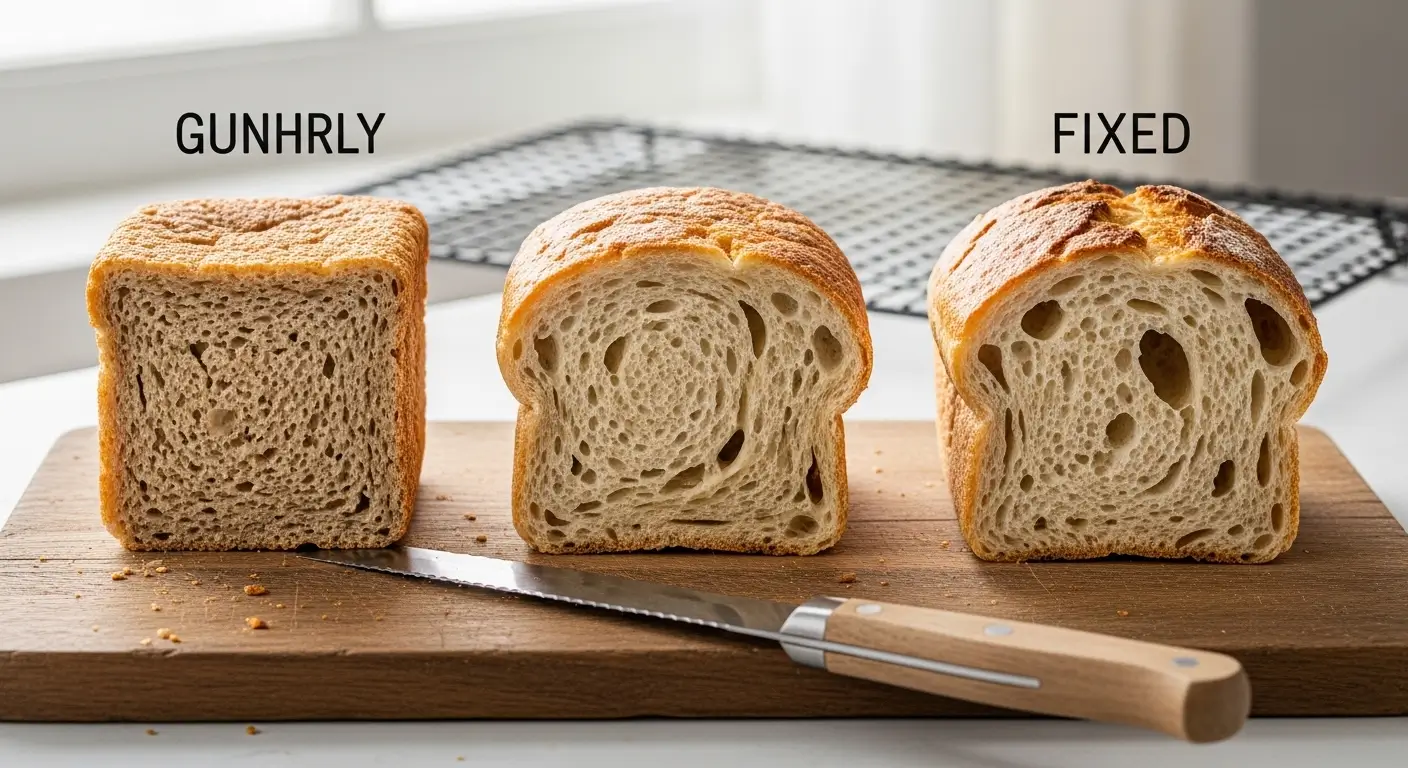
Chart of troubleshooting (symptom-cause-fix).
| Symptom | Probably cause on the next bake | Quick remedy |
|---|---|---|
| Thick brick loaf | starter not at peak; under-fermented; too dry | ferment more; use starter at peak; add 1020g water |
| Gummy center | underbaked; cut too soon; too wet | bake longer; cool 2+ hours; add less water 1020g. |
| Failed top | over-proofed; too wet; poor flour | bake sooner; less water 1525g; bread flour. |
| pale crust | bake too short; low sugars | extend bake; add 10 g honey/sugar (optional) |
| Too sour | long cool ferment; mature acidic starter | shorten cold time; feed starter more often before baking |
| too sour | shortwarm ferment; very young starter | lengthen bulk; experiment with a cooler/longer proof |
“Debug in one bake” checklist
In case your last loaf did not work, only one change variable:
- Starter timing (use at peak)
- Hydration (the slight modifications of water)
- Bulk/proof- length of fermentation.
- Bake time (longer if gummy)
Useful tools and options which enhance results.
You do not have to have an elaborate apparatus, but there are some instruments which eliminate guesses.
Worth it
- Kitchen scale (dough each time the same)
- Cooling rack (stops bottom being wet)
- Thermometer (not necessary, but will help, should you be fighting gummy crumb)
Nice-to-have
- Dough scraper. Clean handling
- Parchment (in order to finish the oven)
Light-touch (global-friendly), sourcing near me.
And you have not yet got starter, the simplest sources are local:
- Bakeries (a number of these will either share or sell starter)
- Farmers markets
- Baking lessons or cooking institutions.
The phrases that are almost universal in search:
- “sourdough starter near me“
- “strong bread flour near me“
- “bread machine repair near me“
In case you need examples to flavor your content, you can refer to the cities such as Karachi and London as to where to purchase good flour or where to find a bakery starter without making the article seem local-only advice.
Purchase/decision advice (to individuals who are to purchase a machine)
In case you are choosing whether to upgrade your existing machine or not, use features rather than hype.
Sourdough is easier with these features.
- Dough cycle (almost every machine has it)
- Bake Only (very helpful)
- Custom stages (sweet, not necessary) Programmable.
- Heavy paddle and non-stick pans can be changed.
Reality check: even high-end machines will not be able to produce all the characteristics of a dutch-oven artisan crust. In case you want to do that, it is better to use the bread machine to make the dough and complete it in the oven.
When comparing brands, it seems that sometimes machines of Zojirushi are used by people who desire more power and reliability of kneading, yet with simple models, you can prepare great sourdough by applying Method A.
An observation on the traditions of techniques (not complexity)
Bread-machine sourdough is no exception to the same principles as used by bakers and cooks such as Peter Reinhart and Jeffrey Hamelman: build gluten, ferment until risen adequately, then bake. The machine only alters the process of mixing and kneading.
Examples of timelines Quick no-fail timelines.
Scheduling (starter-only) (overnight).
- Evening: load pan→ Dough cycle→ bulk overnight in pan.
- Morning: shape (optional) 1-3 hours (proofing) Bake Only/oven.
Same-day schedule (hybrid)
- Morning: load pan (longer cycle or Dough + shorter rise)
- Afternoon: bake
FAQs
1) Are you able to make sourdough by using a bread machine without yeast?
Yes. Active starter and Dough cycle + long fermentation process should be used. The normal Basic cycle timing cannot be expected to work with starter-only sourdough.
2) Which cycle do I use to make sourdough in a bread machine?
Dough is the optimum cycle of most machines. It deals with mixing and kneading, and then it is up to you to control long rise and proof before baking.
3) What is the duration of the sourdough in the bread machine pan?
The bulk duration is usually 4-10 hours with 1-3 hours of proof time based on the strength of starter and the temperature of the kitchen. Watch the dough, not the clock.
4) Why is my bread machine sourdough thick?
Most frequently: the starter was not at its optimum, the dough was not fermented sufficiently or the dough was too dry. Test the 10 minutes dough check and give the dough time to rise.
5) Does the bread machine do a good job baking sourdough?
Yes, sometimes, particularly when you have Bake Only or a programmable cycle. Most people however achieve better texture through the use of the machine doing the dough and finishing in the oven.
6) Is it possible to use the French bread cycle to make sourdough?
You can but it is a matter of chance with starter only sourdough since the rise periods can still be too brief. Method A should be used when you want to be sure; or place a pinchful of yeast (hybrid).
7) What shall I do to prevent my loaf falling?
Prebake (do not over-proofread), cut back the amount of water, and bread flour. Rising too much and appearing fragile is a risk of collapse of a loaf.
8) Does this mean that I can make whole wheat or wholemeal bread machine sourdough?
Yes. Substitute some of the flour with whole wheat/wholemean, anticipate a small increased amount of water and observe proofing whole grains will ferment more quickly and lose structure in case over-proved.
Conclusion
The recipe of a great sourdough bread machine is not about locating a magic button, but rather about making sourdough fermentation slower and match its capabilities with the capabilities of your machine. Begin with Method A (Dough cycle, 10-minute dough check, long rise, and Bake Only or oven finish). After you have mastered timing of rising in your kitchen you can go into hybrid timing, whole wheat timing or even fully programmable timing with certainty.